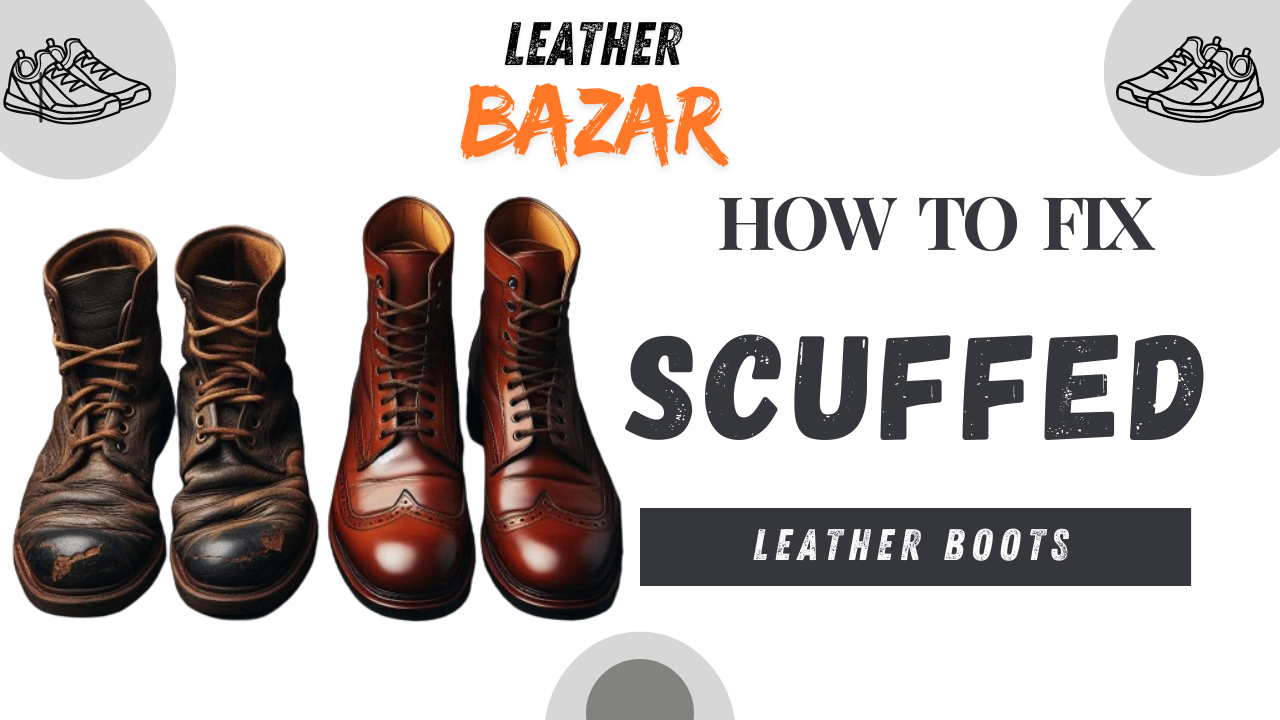
Leather boots are known for their durability and classic style, but scuffs can detract from their appearance over time. Learn expert methods on how to fix scuffed leather boots effectively to restore their longevity, preserving their timeless elegance and quality craftsmanship.
This guide will walk you through the extremely important steps to fix scuffed leather boots, from testing/evaluating the damage and cleaning the boots to repairing minor and deep scuffs, coloring, blending, conditioning, and polishing.
By following these methods, you can keep your leather boots looking their best and secure/make sure of they remain a staple in your clothing for years to come
1. Assessing the Damage
Inspect the Scuffs:
Before attempting any repairs, carefully inspect your leather boots to identify all areas with scuffs. Use good lighting to secure/make sure of you don’t miss any damage. Note the location and extent of each scuff. This step is extremely important as it helps you understand the overall condition of your boots and plan the appropriate repair method. Light scuffs might only require conditioning and polishing, while deeper ones might need more intensive repair.
Determine the Depth and Severity:
After identifying the scuffs, decide/figure out their depth and (seriousness/ level). Light surface scuffs are usually shallow and only affect the outer layer of the leather. These can often be fixed with simple cleaning and conditioning. However, deeper scuffs or scratches that penetrate the leather surface will need more complete and thorough treatment, such as using a leather repair kit and possibly re-dyeing the affected areas. Testing/evaluating the damage (in a way that’s close to the truth or true number) secures/makes sure of that you choose the right approach for repairing your leather boots and (accomplishing or gaining with effort) the best results
2. Cleaning the Boots
Remove Dirt and Debris:
Before the repairing scuffs on your leather boots, it’s extremely important to start with a clean surface. Begin by removing any dirt and (many broken pieces of something destroyed). Use a soft brush or cloth to gently wipe away loose dirt from the whole boot. Pay special attention to seams and cracks where dirt can pile up. This step prevents any rough/irritating particles from further damaging the leather during the cleaning process
Use a Leather Cleaner:
Once the surface dirt is removed, apply a leather cleaner to completely clean the boots. Choose a cleaner specifically designed for leather to avoid damaging the material. Apply a small amount of cleaner to a soft cloth and gently rub it into the leather using circular movements. Focus on areas with scuffs to secure/make sure of they are completely clean. The cleaner will remove oils, dirt, and any remaining dirt, preparing the leather for the repair process. After cleaning, allow the boots to air dry completely before moving on to the next steps.
3. Repairing Minor Scuffs
Apply a Leather Conditioner:
To repair minor scuffs on your leather boots, start by applying a leather conditioner. Leather conditioner is designed to nourish and restore the leather, helping to minimize the appearance of small scuffs and scratches. Place a small amount of conditioner onto a soft cloth and gently rub it into the scuffed area. Use circular motions to ensure the conditioner is evenly distributed and absorbed by the leather. This process helps to moisturize the leather and restore its original texture and luster.
Use a Soft Cloth to Buff the Area:
After applying the conditioner, use a clean, soft cloth to buff the scuffed area. Buffing helps to further work the conditioner into the leather and smooth out any remaining imperfections. Use gentle, circular motions, and apply a light pressure to bring out the leather’s natural shine. This step not only enhances the appearance of the repaired area but also helps to blend the treated spot with the rest of the boot, making the scuff less noticeable. Allow the conditioner to fully absorb and dry for the best results.
4. Fixing Deep Scuffs
Use a Leather Repair Kit:
For deeper scuffs and scratches on your leather boots, a leather repair kit is essential. These kits typically include all the necessary materials, such as leather filler, applicator tools, and sometimes color tints.
Apply the Leather Filler:
Begin by applying the leather filler to the damaged area. Use a small applicator or spatula to spread the filler evenly into the scuff, ensuring it fills all gaps and cracks.
5. Coloring and Blending
Choose the Right Color Match:
To restore the appearance of your leather boots after repairing scuffs, it’s crucial to select the correct color match. Leather dyes come in various shades, so choose one that closely matches the original color of your boots. Testing the dye on a small, inconspicuous area can ensure it blends seamlessly with the existing leather.
Apply Leather Dye:
Once you’ve selected the appropriate color, apply the leather dye to the repaired area. Use a small brush or applicator to carefully cover the filler and any surrounding areas that may need touch-ups. Apply the dye in thin, even layers to avoid streaks and ensure a consistent finish. Allow each layer to dry before applying the next to achieve the best results.
6. Conditioning and Polishing
Apply Leather Conditioner:
Once the scuffs have been repaired and the color has been blended, it’s important to condition the leather. Apply a high-quality leather conditioner to the entire surface of the boots. Conditioning helps to restore moisture, maintain flexibility, and prevent future damage. Use a soft cloth to evenly distribute the conditioner, making sure to cover all areas, including the seams and edges.
Buff with a Soft Cloth:
After applying the leather conditioner, allow it to absorb for a few minutes. Then, take a clean, soft cloth and buff the boots. Buffing helps to work the conditioner deeper into the leather and brings out its natural shine. Use gentle, circular motions to achieve a smooth and glossy finish. This step not only enhances the appearance of the boots but also provides additional protection.
Conclusion:
How to fix scuffed leather boots? it’s a straightforward process that can significantly extend their lifespan and keep them looking their best. By carefully assessing the damage, cleaning the boots, and using appropriate repair techniques for both minor and deep scuffs, you can restore their original appearance. Coloring and blending the repaired areas ensure a seamless look, while conditioning and polishing provide the final touch, adding shine and protection. With these steps, your leather boots will not only look rejuvenated but also be better equipped to withstand future wear and tear. Regular maintenance and timely repairs can keep your boots in excellent condition, preserving their quality and style for years to come.