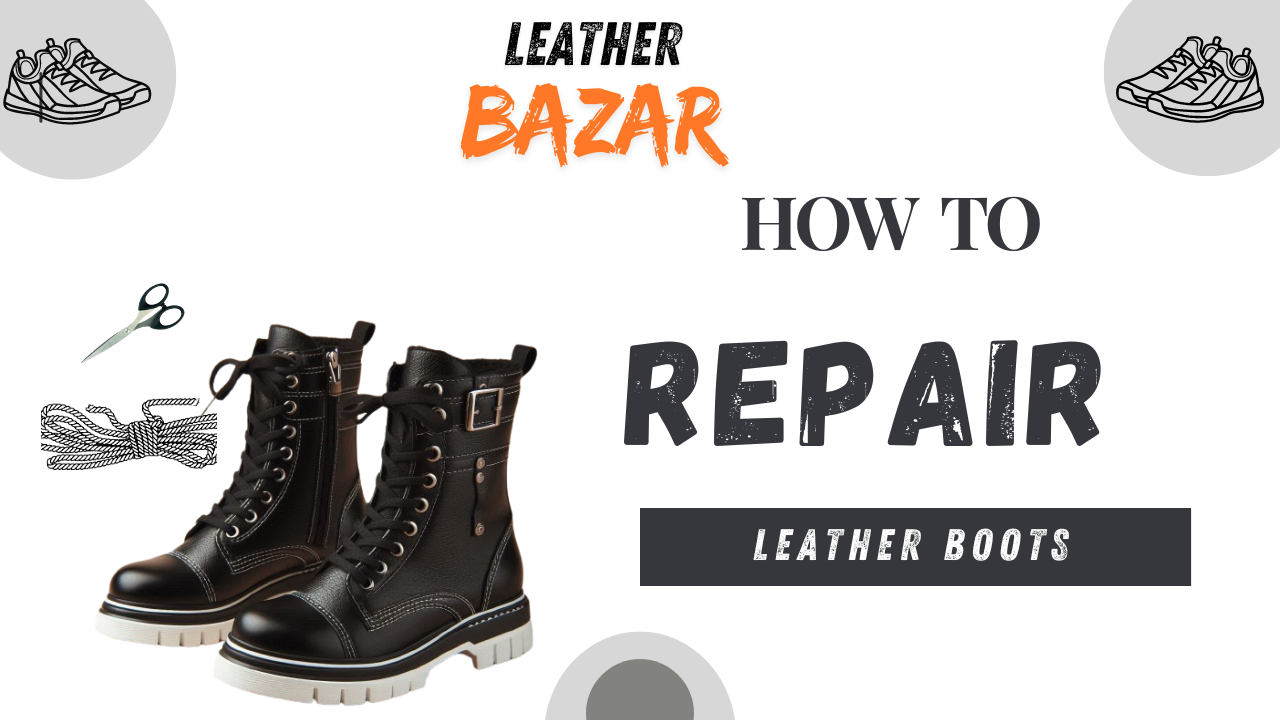
Leather boots are a great investment. They are beautiful and can last for many years if properly cared for. However, even the best leather boots can get damaged over time. Scuffs, cracks, worn-out soles, and loose seams are common issues that can make your boots look old and worn out. But don’t worry, you don’t have to throw them away! With a little effort and the right tools, you can master “How To Repair Leather Boots?” and bring them back to life.
Common Leather Boot Problems
Scuffs and Scratches:
Scuffs and scratches are the most common problems with leather boots. They happen when the surface of the leather is rubbed or scraped, causing it to lose its finish and color. While minor scuffs can add character to your boots, deeper scratches can make them look worn out and old. Knowing “How To Repair Leather Boots?” can save you a lot of money and keep your boots looking great.
Cracks and Splits:
Cracks and splits in leather boots happen when the leather dries out and loses its flexibility. This can happen due to exposure to harsh weather conditions, lack of proper care. Cracked leather not only looks bad but can also weaken the structure of your boots. Dealing with these issues quickly can prevent further damage and extend the life of your boots.
Worn Out Soles:
The soles of your boots take the most wear and tear. Over time, they can become thin, cracked, or completely worn out. This not only affects the appearance of your boots but can also make them uncomfortable and unsafe to wear. Replacing worn-out soles is essential to maintaining the functionality and comfort of your boots..
Pre-Repair Preparations
Tools You’ll Need:
Before you start repairing your leather boots, gather the necessary tools. These may include a soft cloth, leather cleaner, leather conditioner, leather repair cream, leather filler, sandpaper, a sewing needle, strong thread, and glue. Having these tools ready will make the repair process smoother and more efficient. Make sure you have all the materials at hand before you begin to avoid interruptions during the repair process.
Safety Precautions:
Safety is important when repairing leather boots. Work in a well-ventilated area to avoid inhaling fumes from cleaners and adhesives. Use gloves to protect your hands and follow the instructions on all products carefully. Test any new products on a small, hidden area of the boot first to ensure they don’t cause damage. Taking these precautions can help you avoid accidents and ensure a successful repair.
Step-by-Step Repair Methods
Fixing Scuffs and Scratches
Cleaning the Leather:
Start by cleaning the leather to remove any dirt and grime. Use a soft cloth and a leather cleaner to gently wipe the surface. This will help the conditioner and repair cream adhere better. Proper cleaning is crucial as it ensures that no dirt particles interfere with the repair materials, resulting in a smoother and more effective repair.
Applying Leather Conditioner:
Apply a leather conditioner to the cleaned area. This will help to moisturize the leather and restore its flexibility. Allow the conditioner to soak in for a few minutes before moving on to the next step. Conditioning is essential as it replenishes the natural oils in the leather, preventing further drying and cracking.
Using Leather Repair Cream:
Use a leather repair cream that matches the color of your boots. Apply a small amount to the scuffed or scratched area using a soft cloth. Rub it in gently and allow it to dry. The repair cream will fill in the scratches and restore the color of the leather. This step helps to blend the damaged area with the rest of the boot, making the repair less noticeable.
Repairing Cracks and Splits
Cleaning the Cracked Area:
Clean the cracked area with a soft cloth and leather cleaner. Remove any dirt and debris to ensure the filler adheres properly. Cleaning the area thoroughly is important because any leftover dirt can prevent the filler from bonding effectively with the leather.
Applying Leather Filler:
Apply a leather filler to the cracked area. Use a small spatula to spread the filler evenly and fill in the cracks. Allow the filler to dry completely before proceeding. The filler helps to restore the integrity of the leather by filling in the gaps and providing a smooth surface for further treatment.
Sanding and Smoothing:
Once the filler is dry, use fine-grit sandpaper to gently sand the area until it is smooth. This will help to blend the repaired area with the rest of the leather. Sanding is an important step as it ensures that the surface is even and ready for the next stage of repair, resulting in a more professional finish.
Replacing Worn Out Soles
Removing the Old Sole:
Remove the old sole by carefully cutting it away from the boot. Use a utility knife to cut through any stitching or adhesive. Be careful not to damage the leather upper. This step requires patience and precision to avoid causing further damage to the boots.
Attaching the New Sole
Apply a strong adhesive to the new sole and press it firmly onto the bottom of the boot. Make sure it is aligned properly and let the adhesive dry according to the manufacturer’s instructions. Ensuring proper alignment is crucial to maintaining the comfort and functionality of the boots.
Finishing Touches:
Once the new sole is attached, you may need to trim any excess material and sand the edges to ensure a smooth finish. Check the fit and make any necessary adjustments. This final step ensures that the new sole looks and feels as good as the original, providing a seamless repair.
Fixing Loose Seams and Stitching
Inspecting the Seams:
Inspect the seams to determine the extent of the damage. If the stitching is loose but the leather is intact, you can simply restitch the seams. Thorough inspection helps you identify all areas that need attention, ensuring that no damage is overlooked.
Hand Stitching:
Use a strong thread and a sewing needle to hand stitch the loose seams. Make sure to use a stitching pattern that matches the original for a uniform look. Hand stitching allows for precise control and ensures that the repair is strong and durable.
Reinforcing with Glue:
For extra strength, you can apply a small amount of leather glue along the seam before stitching. This will help to reinforce the seam and prevent it from coming loose again. Combining stitching with glue provides a double layer of security, ensuring that the repair lasts longer.
Post-Repair Care
Conditioning and Polishing:
After repairing your boots, it’s important to condition and polish the leather. Apply a leather conditioner to keep the leather soft and flexible. Once the conditioner is absorbed, use a leather polish to restore the shine and protect the surface. Regular conditioning and polishing help maintain the leather’s appearance and durability, extending the life of your boots.
Regular Maintenance Tips:
. Clean your boots regularly to remove dirt and grime. Condition the leather to keep it moisturized and prevent cracks. Check the seams and soles periodically and repair any damage promptly to avoid further wear and tear. Establishing a regular maintenance routine can help you catch and address minor issues before they become major problems.
Common Mistakes to Avoid
Using the Wrong Products:
Using the wrong products can cause more harm than good. Always use products specifically designed for leather and follow the instructions carefully. Test new products on a small, hidden area first to ensure they don’t cause damage. Proper product selection is crucial to achieving successful repairs and maintaining the quality of your boots.
Rushing the Repair Process:
Patience is key when repairing leather boots. Rushing the process can lead to poor results and further damage. Take your time and allow each step to dry and set properly before moving on to the next. Allowing adequate drying and setting time ensures that each repair step is effective and durable.
Conclusion:
Repairing leather boots is a valuable skill that can save you money and extend the life of your favorite footwear. By following these simple methods, you can fix common issues like scuffs, cracks, worn-out soles, and loose seams. Regular maintenance and proper care will keep your boots looking great and feeling comfortable for years to come. So, grab your tools and get started on bringing your leather boots back to life!
FAQs
How often should I repair my leather boots?
The frequency of repairs depends on how often you wear your boots and the conditions they are exposed to. Regular maintenance can help prevent frequent repairs. Check your boots periodically and address any damage as soon as it appears.
Can I repair my leather boots at home?
Yes, many common leather boot problems can be repaired at home with the right tools and techniques. However, for severe damage or if you’re unsure about the repair process, it’s best to consult a professional cobbler.